katherine
I have a series of reusable sacks and bags I use instead of getting plastic bags when I go shopping, but several of them are starting to look a little sad. I have one in particular I bought almost 10 years ago that has a few holes big enough for small cans to fall through. I also have several of the green totes from Whole Foods that look like their paper shopping bags but made from a green material.

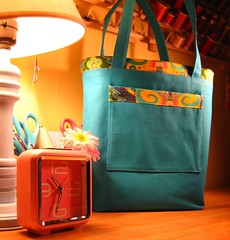
Mallory over at MissMalaprop had posted a while back about Envirosax bags... and I bookmarked them to go back to. I had a n olderbag fall apart this week and decided to go and check them out. She really like the graphic series (at right), but I love the bright colors of the flora bags.

They're available individually or in packs of five that come in a pouch. They fold up really small as well (4x2) which is way smaller than any of my other bags (other than the ones I make) and that pouch should fit in my purse I carry! They also carry double what would fit in a regular size plastic grocery bag.

Envirosax is based out of Australia, and is only recently available in the US- both on their website and several small boutiques. They've also been well documented in the Australian media but not so much in the US.

Their company has a great mantra as well, believing in a sustainable future and being ecologically sound in their daily life.

(I ordered the Flora Pouch withe all five bags to replace my bags that are finally falling apart.)
katherine
SarahKat convoed me the other days after I wondered who else was posting tutorials for various crafty adventures on their blog. She's posted a two part tutorial on making paste papers on her blog (Part1, Part 2) which looks like it could be reminiscent of finger painting (and loads of fun!).

Gemmafactrix also recently posted a tutorial on her blog on Adventures in Papermaking and creating your own deckle screens in custom sizes!
katherine

blooming nine patch
Originally uploaded by antelucandaisy
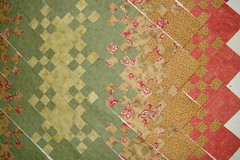
One more row (the orange) on the blooming nine patch quilt. I'm getting there slowly on this one... and it's growing on me. I wasn't entirely sure I really liked it but I'm liking it more as I get more sections on.
katherine
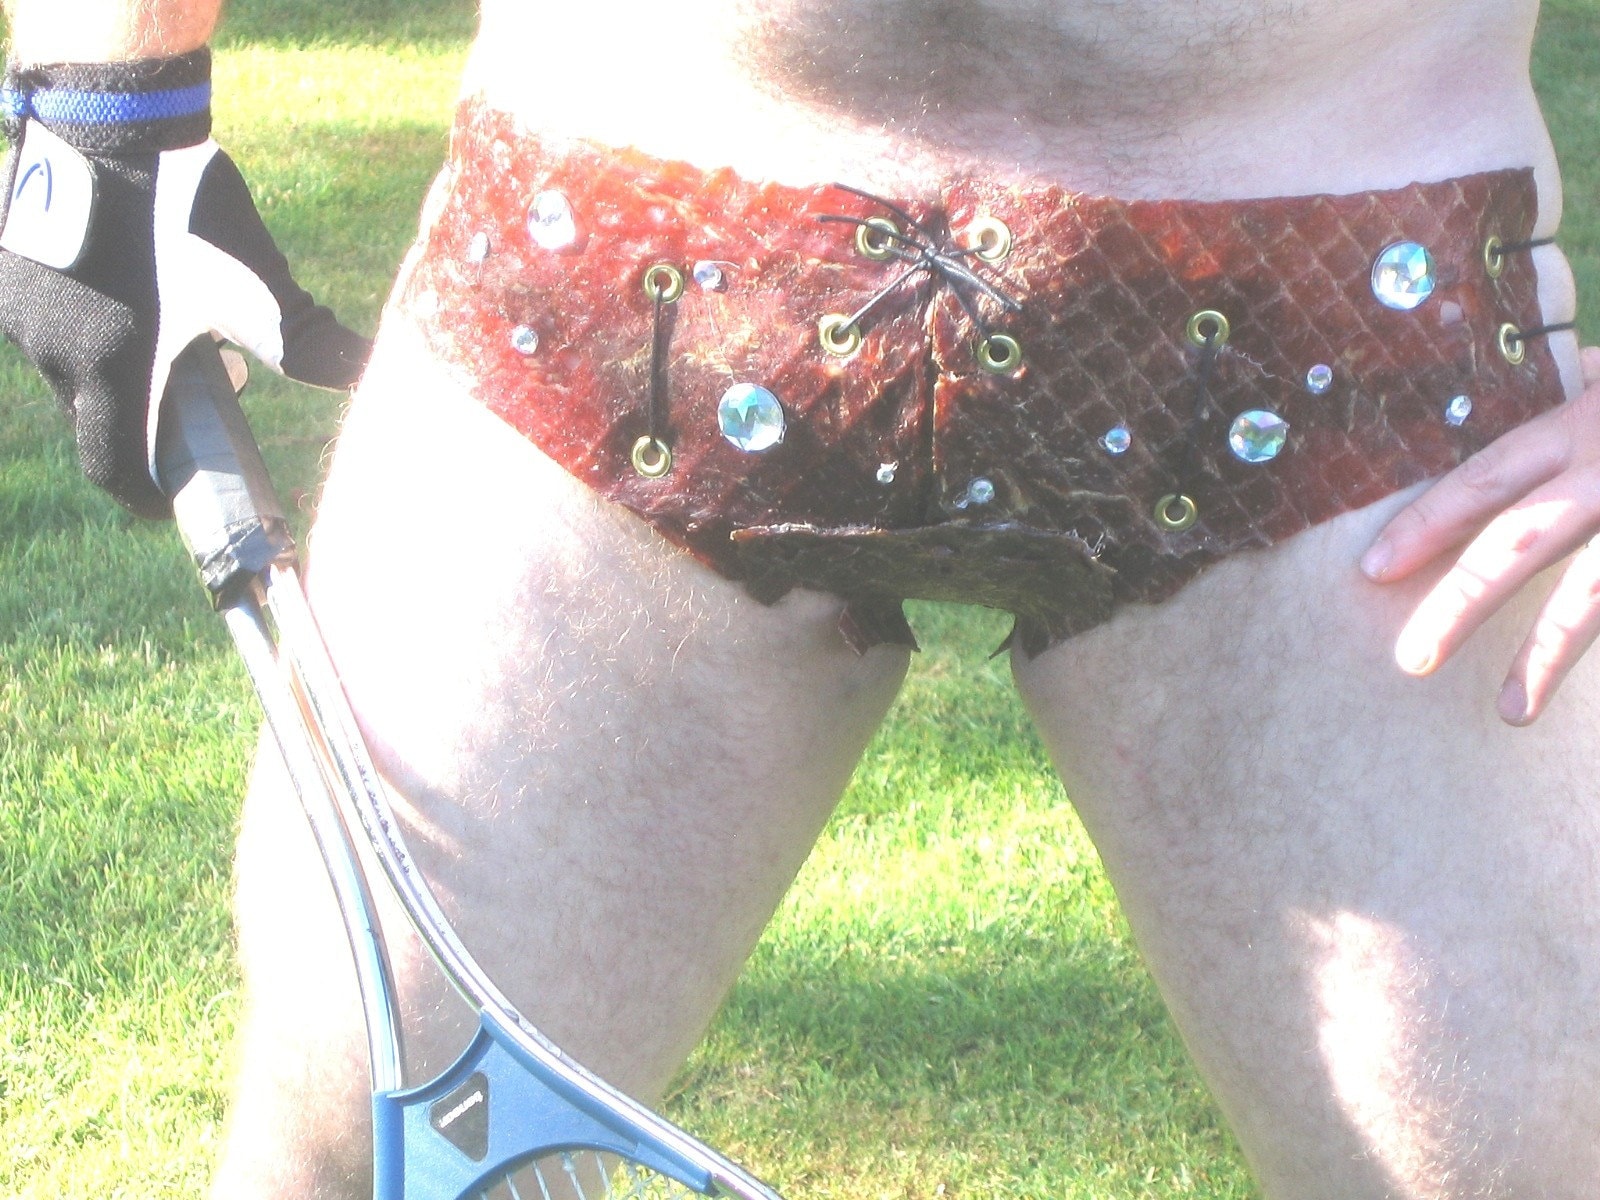
Over at Etsy there lives a conglomerate of several guys (rare enough on etsy) but with a deceptively wicked sense of humor called Mixed Species. They were the featured sellers earlier this week and make crazy awesome stuff.

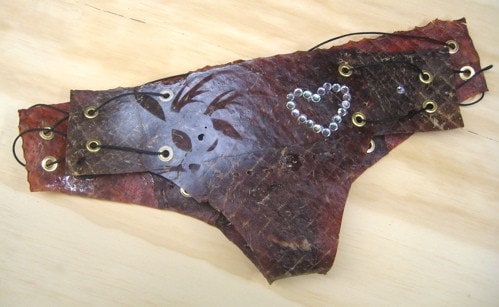
They're currently all over with their "Brief Jerky," being sold as a custom listing for $139. As you can see on the right, they're not only edible underwear made of beef jerky, but bejeweled and embellished as well. If you haven't seen it, go look at the listing here, complete with more photos. They've got over 10,000 hits and are still climbing.

From their Etsy Interview:

In 2007 a crafting commando unit was sent to prison by a military court for a crime they didn't commit. These men promptly escaped from a maximum security stockade to the West Coast underground. Today, still wanted by the government, they survive as crafters of fortune. If you have a problem, if no one else can help, and if you can find them, maybe you can hire Mixed Species."

Actually, we are a group of four, one in Washington State, two in Oregon and one in California. In aggregate we are a capitalistic hippie, white trash, former model with four kids who plays a mean bass, does PR for a Fortune 50 company and are a former member of too many bands to count!

Click here to read the rest.
katherine
For all of you that are just as excited as me about the fact that gocco might be here in the US... it looks like it happened! Papersource.com has gocco supplies along with the gocco arts kit (the one with the larger printing area that I wanted/have been drooling over!). Now we'll see if they bring back the B5/B6 (small print area) and B10/B11 (small area with advanced registration)

You can also check out this great blog post about the gocco called "Do you Gocco? You Will!".
katherine

tote for teacher
Originally uploaded by artsy-crafty
Well to start with she's one of the etsians I've actually met in real life! As some of you know I work part time in a fabric store, and she comes in and shops. She's got cute kids too :) She makes gorgeous bags out of superfun fabrics, and adorable clothes too. Her etsy shop is located at artsycraftybabe.etsy.com and she blogs here!

ps. I love this bag she made (and Jane Sassaman designs awesome fabrics. She's amazing, if you ever get a chance to take her classes DO IT).
katherine
This tutorial is designed to be a step by step guide to making fusible binding for your projects. A fusible binding is perfect for display pieces that will not receive the wear and tear bed quilts do. It's perfect for wallhangings in specific and lots of other small things I haven't considered. It's easy and fast to make as well! I used fusible binding in making a soft backed children's book as well. The patterns are for sale here.


Step 1- Selecting your fusible
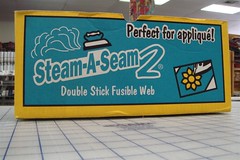
There are many fusible interfacings available that are double sided. The most common are Steam-A-Seam-2, wonder under, and thermobond. I like Steam-A-Seam-2 better than the other types available (for this project) because there are two sheets of paper and the fusible in the middle is sticky so it doesn't shift while you're trying to work with it.
Step 2- Cutting the Interfacing and Fabric
You should cut strips of the fusible interfacing a bit wider than you intend for the the binding itself to be (so you have room to trim if you need).

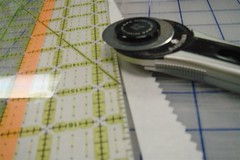
I cut all of my strips with a rotary cutter. As a side note, I keep one marked specifically for cutting paper and non fabric materials. Older blades that won't cut fabric will still cut paper just fine.

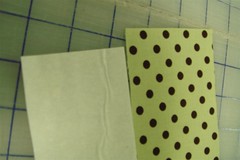
I cut both my fabric and interfacing strips 2.5 inches wide. The strips shown in the photos are short for example's sake. You'd cut your strips the length of the item you're looking to bind.
Step 3- Getting Ready
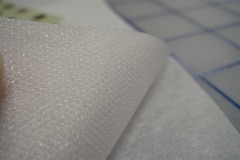
Steam-A-Seam-2 is unique because the fusible interfacing itself is sticky and is enveloped in paper on both sides. When you start this step you need to peel back one of the sheets of paper, and off the interfacing. You should be left with a piece of paper that is tacky to the touch (this is the interfacing) and stick it to the wrong side of your fabric. If you look at the photo to the left, the interfacing has a honeycombed texture, while the paper alone has a similar texture to freezer paper.

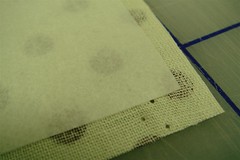
The photo on the right shows the interfacing temporarily attached to the wrong side of the fabric, ready to be ironed.


Step 4- Ironing (aka don't burn yourself)
Once you have the Steam-A-Seam-2 lined up, iron it to the fabric. Remember, you are ironing paper, so use a medium heat and keep the iron moving. Turn off the steam! The paper becomes almost translucent after being heated to attach the interfacing.

Step 5- Decorative Trim
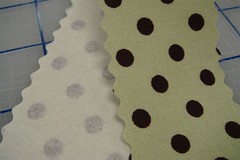
So in reality, the piece of fabric you have in your hands could be used as a fused binding, but it's really not that exciting. I've also found that sometimes a straight grain fusible binding can fray and make a mess over time with a little bit of wear.

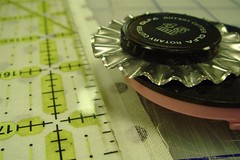
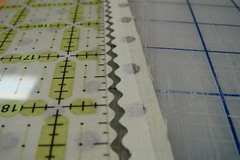
I use a wavy edged rotary cutter to give the piece a decorative edge. I trim one side, and then place the ruler line at the two inch mark in the middle of the waves for my second trim.
Step 6- You're ready to bind!
So now you have a two inch wide strip of decorative fusible binding ready to attach to your project!

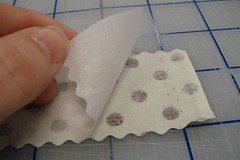
The paper back peels off, leaving a sticky binding that's easy to position before ironing it down! I normally also try to stitch it down after ironing as well... it gives a more traditional look and a bit more polish.
All Done!

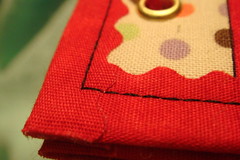
The photo on the right is of a children's book I made that uses these same instructions to bind soft pages with Fast2Fuse or Timtex. The photo is of the corner of the book, and shows a red fusible binding stitched down with black thread for contrast.


You can also find a version of this tutorial at the instructables site or included in my pattern for a soft children's book found here on etsy. The fabric used in the demo is from the Michael Miller Kid's Toile Line.
katherine
All needles 3I've had a series of bad days recently thanks to some hiccups in my personal life. I realized it's been 10 days since I've posted here and now I feel a little delinquent... so I've got some fun things to show you!

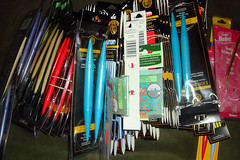
One of the local crafting stores here recently went out of business this past week, and the manager offered me a deal I couldn't pass up. I've talked to her a couple of times about selling things on etsy, and enjoying the community and being able to get great supplies as well as great handcrafted things (most of which I don't really need but they make me happy). So long story short she offered to make me the deal of a lifetime if I bought most of the needles she had left. Hence the photo you see in the upper right of this post. That's about half of what I walked away with!

I picked up lots of double pointed needles for knitting in the round (sized 5-10) that are plastic covered brass, Circular needles in both bamboo and the plastic/brass in all sort of sizes, and a variety of straight needles that are bamboo. There are also some assorted other odds and ends including crochet needles, cable hooks, stitch markers and a couple of learn to knit DVDs.

So I've started listing them at my other etsy store, Shootingstar Supplies, which you can find here. I think I've priced them below what you'd be able to buy them at a store on sale for, because I'm all about supporting the crafty ones! (and it's amazingly cool to look at hundreds of pairs of knitting needles in all different colors!).
katherine

Monkey Pillowcase
Originally uploaded by antelucandaisy
I haven't posted in a while and I'm sorry- My personal life is a bit of a disaster area right now and I've been super busy with the end of the semester and the start of summer field work.

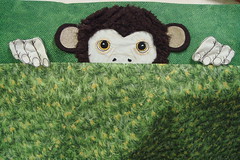
The uber-fun monkey pillowcase pictured is an awesome fun little embroidery project. The money head is chenilled in the hoop, and then cut afterwards- it was easy and fun.